Creating a New Virtual Machine (VM) On VirtualBox
Creating a First Virtual Machine (VM) On VirtualBox-:
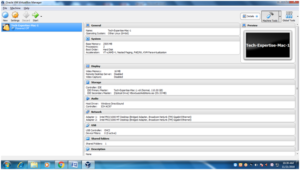
1. Open Virtual Box and click on the New virtual machine button at the top of the VirtualBox Manager window.
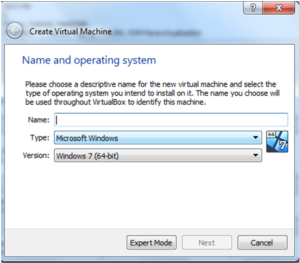
2. The Create New Virtual Machine wizard will open.
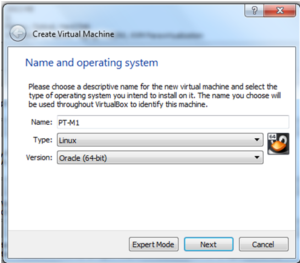
A wizard will pop up .Enter the name of the virtual machine, the type of the operating system and the specific version of the operating system, Click Next to proceed.
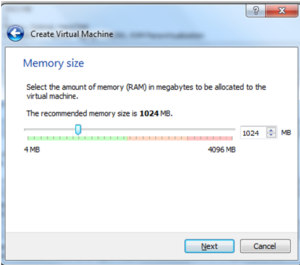
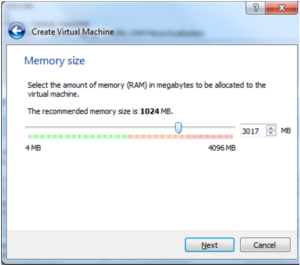
3. Virtual Box automatically sets the recommended RAM allocation for the operating system you selected, but also gives you the flexibility of modifying the default to your liking. Use the slider to move the allocation back and forth or type it in the box displaying the current allocation ,Click Next to proceed.
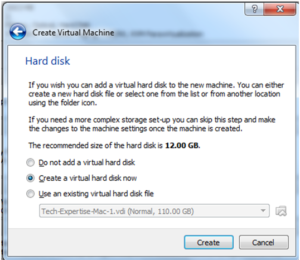
4.Since we are creating a new virtual machine we need to create a Boot Hard Disk, choose this option.
As indicated before we are creating a new hard disk, so choose Create new hard disk
Note: If you already had a virtual disk stored in your computer and wanted it to use it for this virtual machine you would have selected the second option, Use existing hard disk.
Click Create to start the Create New Virtual Hard Disk.
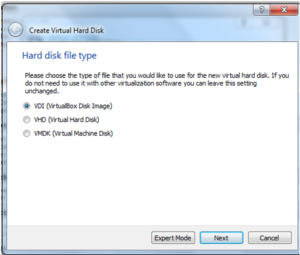
5. It will show you Hard Drive File Type accept the default VDI type,Click Next to proceed.
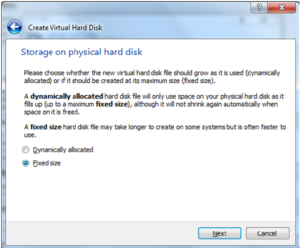
6. Virtual Box provides you with two Storage Types when creating a virtual hard disk;
- Dynamically expanding storage uses a small amount of hard drive space initially and will expand as the virtual machine’s needs grow.
- Fixed-size storage uses the amount of storage specified in the next step and can take a while …a 20GB hard drive on my laptop took about 30 minutes to create. I like this option because the size of my virtual machine’s hard disk is limited and I know how much space it will use.
Choose the Storage Type you wish to use.Click Next to proceed.
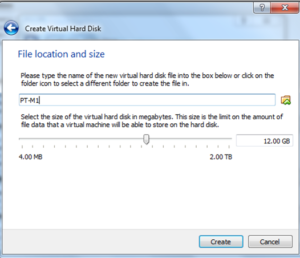
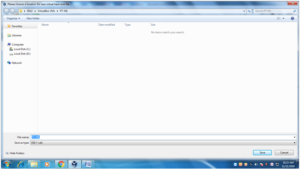
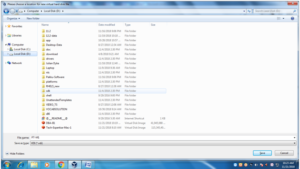
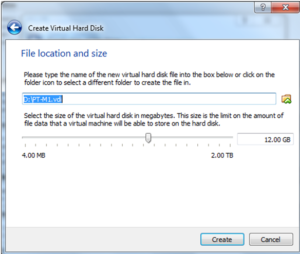
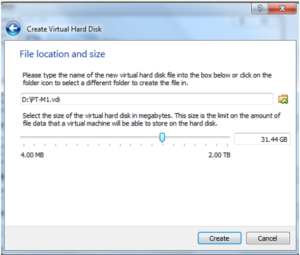
7. Before we allocate the space the hard disk will use we need to specify a location where the hard disk will reside. Virtual Box will default to the virtual machines directory, but since I have multiple virtual machines I usually store them on an external hard drive for easy access among my computers and it keeps them off my main hard drive. If you wish to store the virtual disk in a place other than the default location on your main hard drive, click on the small folder icon to select a new directory.
Click Save when you are done.Once you’ve designated a location for the virtual disk you’re going to have to specify the size of the hard disk. Use the slider to increase or decrease the size of the hard drive or enter the amount directly into the text box displaying the current size. Click Create to proceed
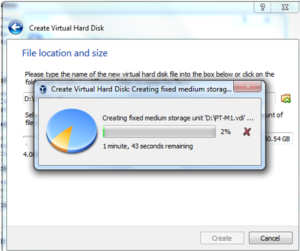
You will be presented with a progress bar as the virtual disk is created.
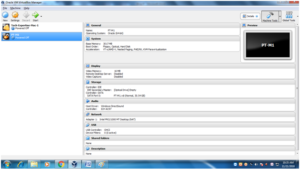
8. Your newly created virtual machine will be listed among others in the Virtual Box pane located on the left side of the screen.
Check regularly my post and give feedback & comments.
Thanks
Ahmad
(Oracle Consultant)
(OCE in 11gR2 RAC)
(OCP in 11gR2/10gR2/9iR2)

4 Comments
Showket ali · November 21, 2018 at 11:30 am
Nicely explained. waiting for rac installation VM BOX
Ahmad · November 21, 2018 at 10:20 pm
Ok I will write in Sha Allah
Bashir Ahamad · November 21, 2018 at 11:45 am
This is a very informative post. Can you please put more details on how to setup shared drive and secure an IP address on the VM?
rashmeet · November 21, 2018 at 9:28 pm
wonderful explanation …it is really helpful to create VM from the beginning..